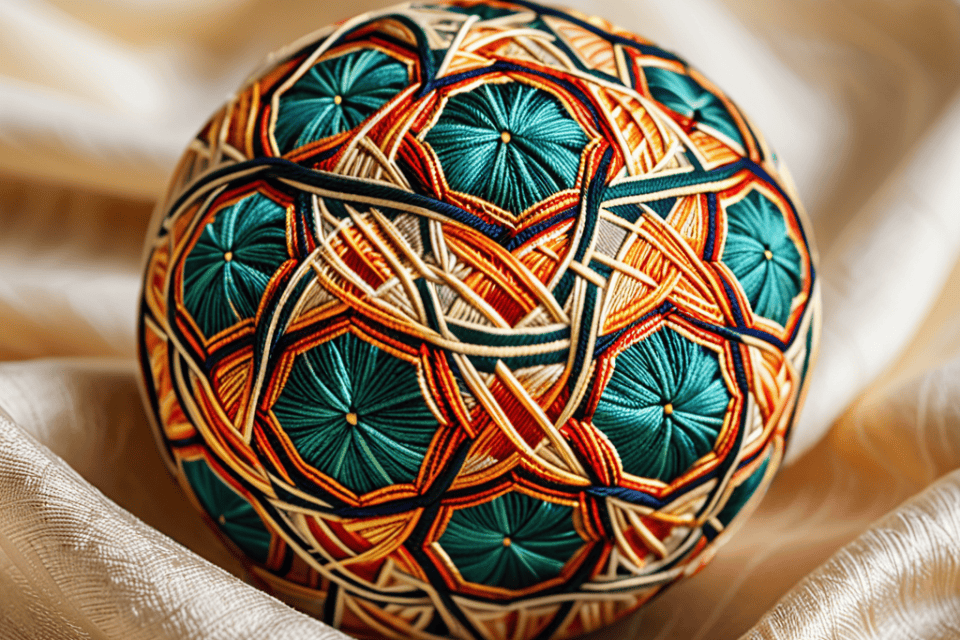
I still remember the first time I stumbled upon a Temari Ball Embroidery piece – I was immediately captivated by the intricate patterns and vibrant colors. But what really drew me in was the realization that these stunning balls are not just beautiful decorations, but also carry a rich cultural significance in Japanese tradition. Despite their beauty, I’ve often heard people say that creating Temari Ball Embroidery is a daunting task, requiring years of experience and patience. However, I’m here to tell you that this couldn’t be further from the truth – with the right guidance, anyone can create their own stunning Temari Ball Embroidery pieces.
In this article, I’ll share my personal journey and practical tips for getting started with Temari Ball Embroidery. You’ll learn how to choose the right materials, create simple yet elegant designs, and bring your very own Temari ball to life. I’ll cut through the noise and provide you with honest, no-nonsense advice on how to overcome common challenges and achieve professional-looking results. Whether you’re a seasoned crafter or a complete beginner, this guide will walk you through every step of the process, ensuring that you have fun while creating your own unique piece of Temari Ball Embroidery.
Table of Contents
- Project Overview
- Step-by-Step Instructions
- Mastering Temari Ball Embroidery
- Precision Geometric Patterns With Embroidery Tutorials
- Unlocking Traditional Japanese Thread Wrapping
- Elevating Your Craft: 5 Essential Tips for Temari Ball Embroidery
- Key Takeaways for Temari Ball Embroidery Enthusiasts
- The Heart of Temari
- Conclusion
- Frequently Asked Questions
Project Overview
Total Time: 2 hours 30 minutes
Estimated Cost: $15 – $30
Difficulty Level: Intermediate
Tools Required
- Embroidery Needle ((size 5 or 7))
- Scissors ((sharp and dedicated to cutting thread))
- Stabilizing Material ((e.g., a Styrofoam ball or a paper mache ball))
Supplies & Materials
- Thread ((cotton or silk embroidery floss in various colors))
- Fabric ((small pieces of cotton or silk fabric for wrapping the ball))
- Measuring Tape ((for measuring the ball, approximately 2 inches to 4 inches in diameter))
- Ruler ((for measuring and marking the fabric, approximately 6 inches long))
- Pencil ((for marking the fabric and creating patterns))
Step-by-Step Instructions
- 1. First, let’s start with the basics: to create a stunning Temari Ball Embroidery, you’ll need a few essential materials, including a high-quality ball made of wood, plastic, or foam, embroidery floss, and a needle. Make sure you choose a ball that’s the right size for your project, as this will affect the overall design and complexity of your embroidery.
- 2. Next, you’ll need to wrap your ball with a foundation material, usually a thin layer of fabric or paper, to create a smooth surface for your embroidery. This step is crucial, as it will help you achieve a more even and polished finish. To do this, simply cut a piece of fabric or paper into a square or circle, depending on your ball’s shape, and then wrap it tightly around the ball, securing it with a few stitches or a dab of glue.
- 3. Now it’s time to start designing your embroidery pattern. Temari Ball Embroidery is all about creating intricate, geometric designs using traditional Japanese motifs, such as cherry blossoms, chrysanthemums, or hexagons. You can find inspiration online or in books, or simply let your imagination run wild and create your own unique design. Remember to keep your design balanced and symmetrical, as this is a key element of traditional Temari Ball Embroidery.
- 4. With your design in mind, it’s time to start threading your needle and embroidery floss. Choose a color that complements your ball’s foundation material and start creating your pattern, one stitch at a time. Begin with the center of your design, working your way outwards in a spiral or circular motion. This will help you maintain even tension and prevent your stitches from becoming too tight or too loose.
- 5. As you embroider, make sure to keep your stitches evenly spaced and your tension consistent. This will help you achieve a smooth, polished finish and prevent your design from becoming distorted. If you’re new to embroidery, don’t worry if your stitches are a bit uneven at first – with practice, you’ll get the hang of it, and your stitches will become more confident and consistent.
- 6. Once you’ve completed your embroidery design, it’s time to add some finishing touches. You can do this by securing your threads with a few small stitches, trimming any excess floss, and then adding a coat of varnish or sealant to protect your embroidery and give it a glossy finish. This will help preserve your hard work and make your Temari Ball Embroidery last for years to come.
- 7. Finally, take a step back and admire your handiwork! Your Temari Ball Embroidery is now complete, and you can proudly display it in your home or give it as a gift to someone special. Remember, the beauty of Temari Ball Embroidery lies in its uniqueness and imperfections, so don’t be too hard on yourself if your stitches aren’t perfect – it’s all part of the charm.
Mastering Temari Ball Embroidery
To truly master the art of creating these stunning balls, it’s essential to understand the importance of precision stitching. This involves carefully planning and executing each stitch to ensure that the design is not only visually appealing but also technically sound. By focusing on precision, you’ll be able to achieve the intricate patterns and designs that are characteristic of traditional Japanese embroidery techniques.
As you work on your project, consider experimenting with different thread wrapping methods to add texture and depth to your design. This can include varying the tension of your stitches or using different types of thread to create subtle color variations. Additionally, geometric embroidery tutorials can be a great resource for learning new patterns and designs to incorporate into your work.
By combining precision stitching with creative thread wrapping methods and geometric patterns, you’ll be well on your way to creating truly unique and beautiful pieces. Remember to take your time and pay attention to detail, as the small elements can make a big difference in the overall appearance of your finished ball. With practice and patience, you’ll be able to achieve professional-looking results that showcase your skill and artistry.
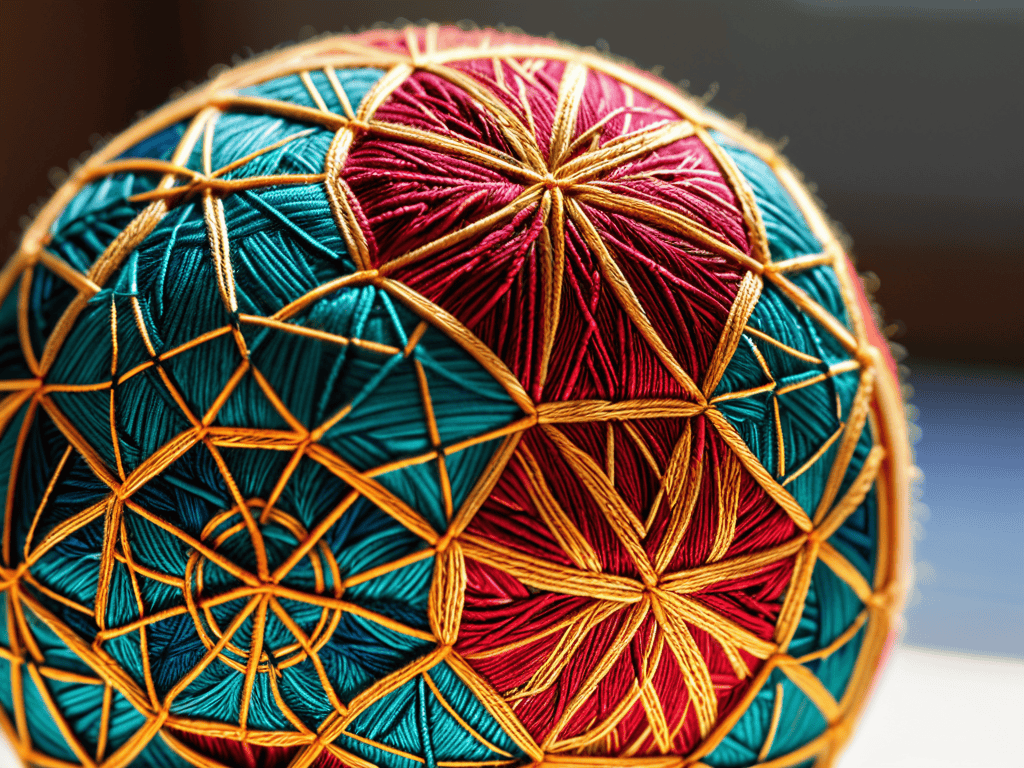
Precision Geometric Patterns With Embroidery Tutorials
To achieve precision geometric patterns, it’s essential to break down designs into manageable parts. Start by dividing your ball into sections using a simple grid or pattern. This will help you maintain symmetry and balance as you work. With each stitch, focus on creating a seamless flow from one section to the next, allowing your design to unfold naturally.
Embroidery tutorials can be incredibly helpful in mastering these techniques, offering step-by-step guidance on intricate patterns and stitches. By practicing these tutorials, you’ll develop the skills and confidence to tackle even the most complex geometric designs, bringing your Temari balls to life with vibrant, precision-crafted beauty.
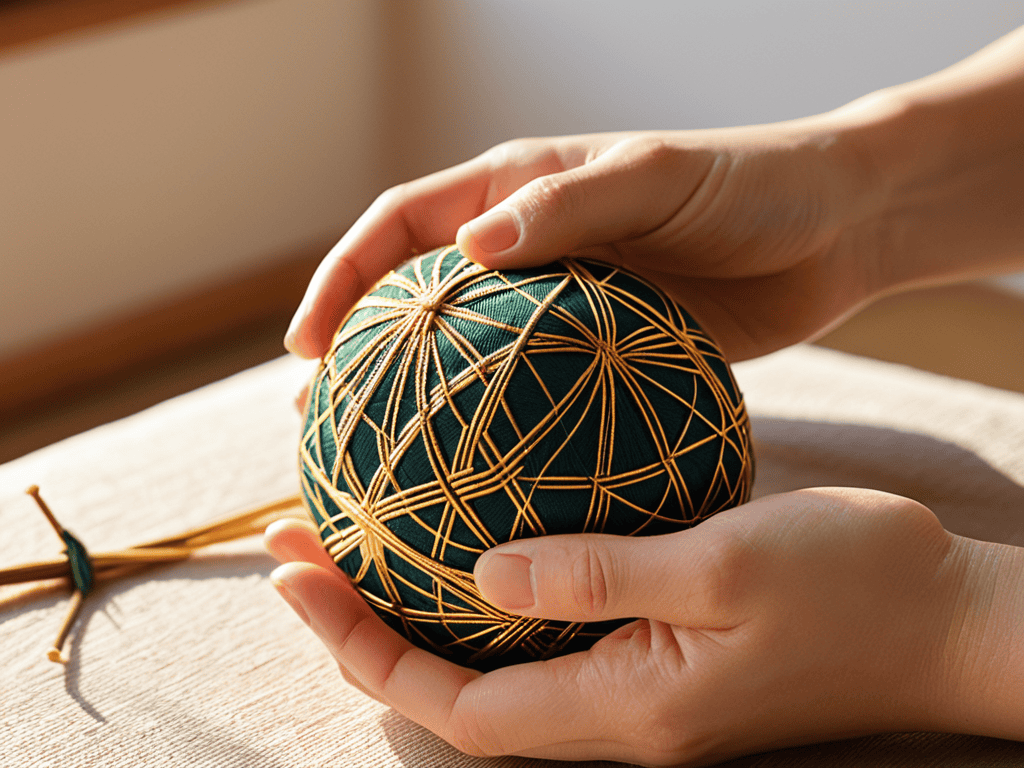
Unlocking Traditional Japanese Thread Wrapping
To truly master Temari Ball Embroidery, one must also delve into the art of traditional Japanese thread wrapping. This ancient technique is not only aesthetically pleasing but also serves as a foundation for the intricate designs that adorn these beautiful balls. By carefully wrapping threads around a core, craftsmen create a base that is both sturdy and visually striking.
As you explore thread wrapping, you’ll discover the importance of patience and attention to detail. The process requires a gentle touch and a keen eye for symmetry, allowing the wrapped threads to become a canvas for the embroidery that follows. With practice, you’ll unlock the secrets of this timeless technique, elevating your Temari creations to new heights of elegance and sophistication.
Elevating Your Craft: 5 Essential Tips for Temari Ball Embroidery
- Start with the right materials: Invest in high-quality threads and a good ball to ensure your embroidery looks vibrant and even
- Keep it tight: Maintaining the right tension is crucial for creating those stunning geometric patterns
- Practice traditional wrapping techniques: Mastering the art of thread wrapping will elevate your Temari balls to the next level
- Don’t be afraid to experiment: Try out different patterns and colors to make your Temari balls truly unique
- Join a community: Connecting with other Temari enthusiasts can be a great way to learn new techniques, get feedback, and stay inspired
Key Takeaways for Temari Ball Embroidery Enthusiasts
Embarking on the journey of Temari Ball Embroidery requires patience, dedication, and a willingness to learn traditional Japanese techniques such as thread wrapping and geometric pattern creation
Mastering the art of Temari involves understanding the intricacies of embroidery and the significance of precision in creating stunning, intricate designs that reflect the beauty of Japanese culture
With practice and persistence, enthusiasts can unlock the full potential of Temari Ball Embroidery, creating breathtaking pieces that not only showcase their skill but also tell a story of tradition, artistry, and connection to Japan’s rich heritage
The Heart of Temari
As I wrap each thread around the ball, I feel the weight of tradition and the thrill of innovation, reminding me that Temari Ball Embroidery is not just a craft, but a journey through the very essence of Japanese culture.
Emiko Nakahara
Conclusion
As you continue to hone your skills in Temari Ball Embroidery, you may find yourself seeking inspiration from various sources, including online communities and forums. For those looking to connect with like-minded individuals or explore new ideas, I’ve found that browsing through sex classifieds can be a great way to stumble upon unique, handmade items that showcase exceptional craftsmanship, such as intricately embroidered clothing or accessories, which can often spark creativity and encourage you to experiment with innovative designs in your own Temari Ball Embroidery projects.
As we conclude our journey through the world of Temari Ball Embroidery, let’s reflect on the key takeaways. We’ve covered the step-by-step guide to creating these stunning balls, and dived into the art of mastering traditional techniques. From unlocking the secrets of Japanese thread wrapping to precision geometric patterns with embroidery tutorials, we’ve explored the intricacies of this ancient craft. Whether you’re a seasoned artist or a curious beginner, Temari Ball Embroidery offers a unique opportunity to connect with Japan’s vibrant cultural heritage.
As you embark on your own Temari Ball Embroidery journey, remember that the true beauty of this craft lies in its endless creative possibilities. Don’t be afraid to experiment, innovate, and push the boundaries of what’s possible with thread and needle. With patience, practice, and dedication, you can create breathtaking works of art that not only reflect your personality but also honor the rich traditions of Japan’s embroidery masters. So, let the journey begin, and may your threads be ever vibrant and your stitches be ever strong!
Frequently Asked Questions
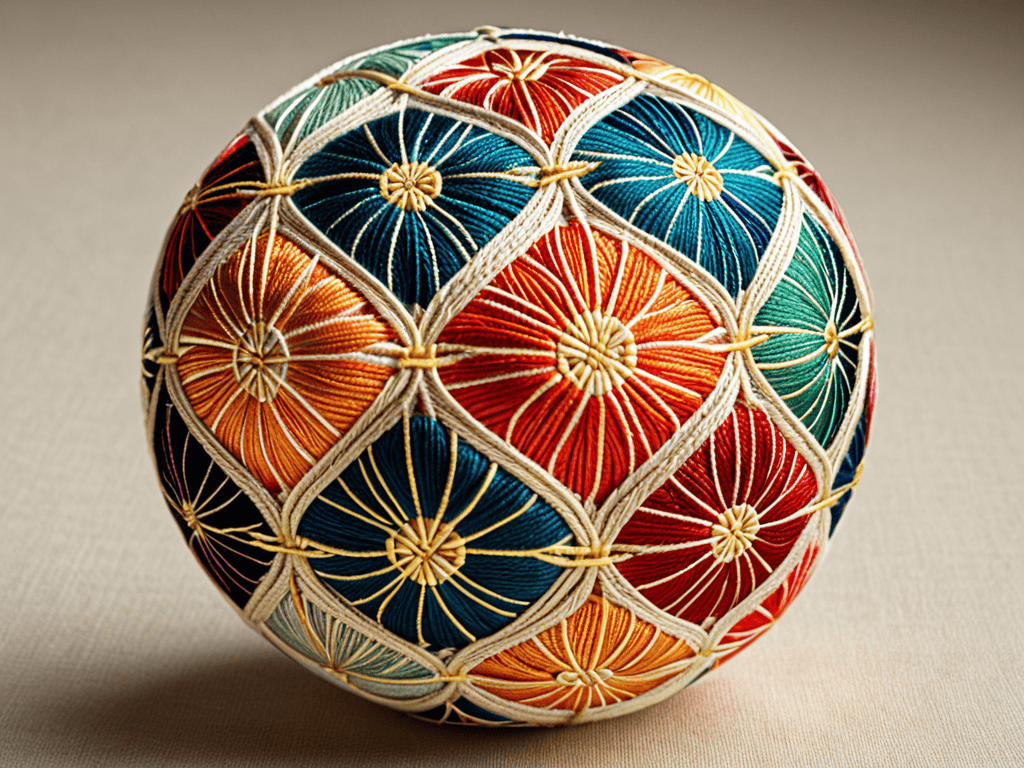
What are the traditional colors and thread types used in Temari Ball Embroidery?
Traditional Temari colors are a vibrant reflection of Japan’s heritage, often featuring bold reds, blues, and yellows. Threads are typically made from silk or cotton, with a focus on delicate, precise stitching that showcases the artisan’s skill. These classic hues and materials come together to create truly stunning pieces that embody the essence of Temari Ball Embroidery.
How do I achieve uniform tension while wrapping the thread around the ball to create a smooth surface?
To achieve uniform tension, gently pull the thread taut as you wrap, but avoid pulling too hard, which can cause puckering. Think of it as a gentle hug around the ball. As you work, periodically rotate the ball to ensure even tension and a smooth surface.
Can I use modern embroidery floss or yarn to create unique, non-traditional Temari Ball designs?
While traditional threads are often used, you can definitely experiment with modern embroidery floss or yarn to create unique Temari Ball designs. Just keep in mind that different materials may affect the overall texture and appearance, so feel free to get creative and see what amazing combinations you can come up with!