I still remember the first time I attempted to make handmade soap using the cold process method – it was a disaster. I had read countless tutorials and watched hours of videos, but nothing seemed to prepare me for the messy reality of creating something from scratch. The truth is, most guides to making handmade soap using the cold process method make it sound like a complicated, intimidating process, but I’m here to tell you that it’s actually quite simple. With the right guidance and a bit of patience, you can create beautiful, nourishing soap that rivals any store-bought brand.
In this article, I’ll share my personal experience and practical tips for making handmade soap using the cold process method. You’ll learn how to choose the right ingredients, mix and mold your soap, and troubleshoot common problems. My goal is to provide you with a no-nonsense guide that cuts through the confusion and gets you started on your soap-making journey. By the end of this article, you’ll have a clear understanding of the cold process method and be ready to start creating your own handmade soap with confidence. Whether you’re a beginner or just looking for a new hobby, this guide to making handmade soap using the cold process method is the perfect place to start.
Table of Contents
Guide Overview: What You'll Need
Total Time: 2 hours 30 minutes
Estimated Cost: $20 – $50
Difficulty Level: Intermediate
Tools Required
- Digital Scale (for accurate measurements)
- Stick Blender (for mixing)
- Thermometer (for temperature monitoring)
- Mold (to shape the soap, approximately 6 inches long, 4 inches wide, and 2 inches deep)
- Rubber Spatula (for scraping the sides of the mixing bowl)
- Gloves (for protecting your hands)
- Goggles (for protecting your eyes)
Supplies & Materials
- Olive Oil (approximately 1 pound)
- Coconut Oil (approximately 1/2 pound)
- Palm Oil (approximately 1/2 pound)
- Lye (Sodium Hydroxide) (approximately 1/4 pound, handle with caution)
- Distilled Water (approximately 1 cup)
- Fragrance Oil (optional, for scenting the soap)
- Colorants (optional, for coloring the soap)
Step-by-Step Instructions
- 1. First, let’s start by preparing our workspace and gathering all the necessary ingredients and tools, making sure we have everything we need to make this handmade soap making process as smooth as possible. We’ll need a thermometer, a stick blender, a soap mold, and of course, our lye, oils, and any additional ingredients like essential oils or colorants.
- 2. Next, we need to safely handle the lye, also known as sodium hydroxide, which is a crucial component in the cold process method. We’ll be mixing it with distilled water in a well-ventilated area, wearing protective gear like goggles and gloves to prevent any skin or eye irritation. It’s essential to follow the recipe and mix the lye with water in a specific ratio, as this will affect the quality of our final product.
- 3. Now, let’s move on to preparing our oil mixture, which typically includes a combination of olive oil, coconut oil, and palm oil. We’ll be melting these oils together in a large mixing bowl, either using a double boiler or a microwave-safe bowl in short increments, stirring between each heating to ensure even heating. The key is to get the oils to a temperature that’s close to the lye mixture’s temperature for a successful blend.
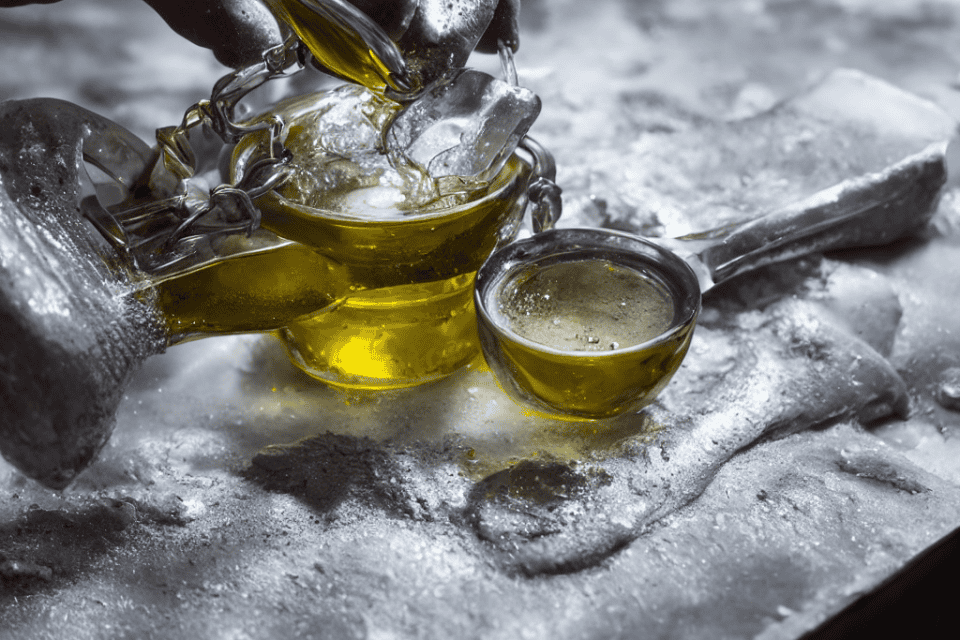
- 4. With both our lye mixture and oil mixture ready, it’s time to combine them, which is the most critical step in the cold process method. We’ll be using our stick blender to mix these two components together until they reach a consistency similar to thin pudding, a stage known as “emulsification.” This process requires patience and careful observation to avoid over-mixing.
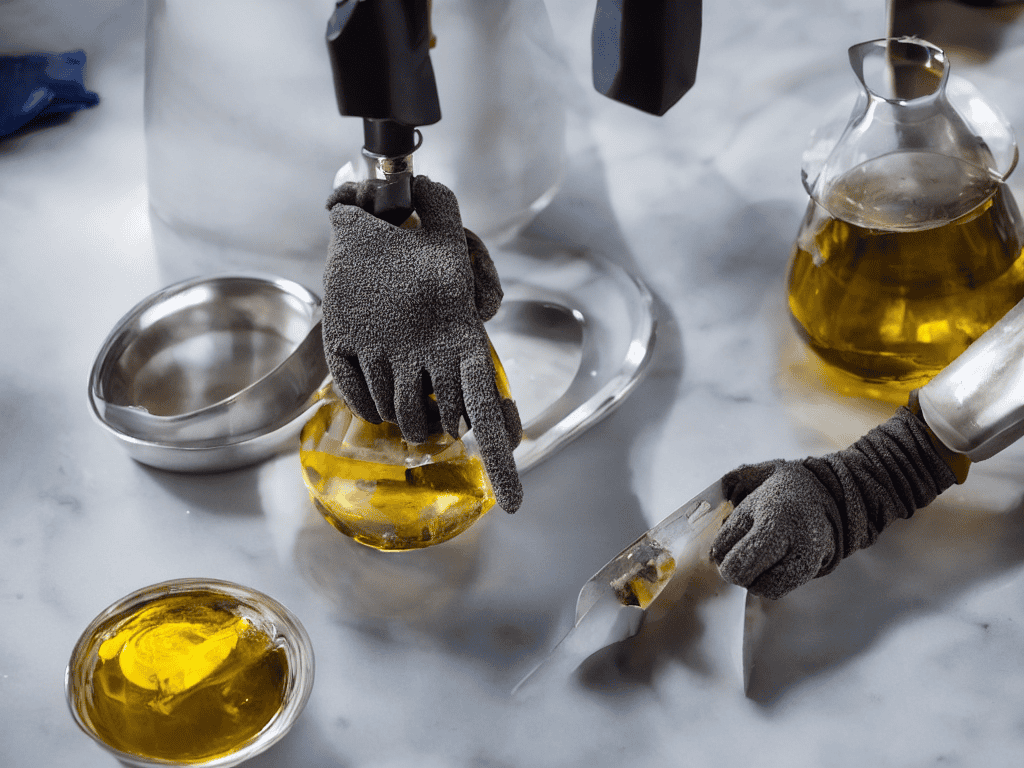
- 5. Once we’ve achieved the perfect mix, we can add our fragrance oils or essential oils, as well as any colorants we wish to include. This is where we can get creative with different scents and colors to make our handmade soap truly unique. It’s important to stir well after adding these ingredients to ensure they’re evenly distributed throughout the soap mixture.
- 6. Now, it’s time to pour our soap mixture into the mold we’ve prepared. This can be a bit tricky, as we want to avoid creating air pockets, which can lead to uneven soap texture. Gently tapping the mold on the counter can help eliminate any bubbles that form. After pouring, we’ll use a spatula or spoon to create a texture on the surface, if desired, before allowing the soap to set.
- 7. The final step involves letting our soap set and harden in the mold for at least 24 hours. After this period, we can carefully remove it from the mold and cut it into bars. It’s crucial to let the soap cure for several weeks, which allows excess water to evaporate, making the soap milder and longer-lasting. During this time, the soap will become harder and more resistant to water, indicating it’s ready for use.
Cold Process Soap Magic
As you continue to experiment with the cold process method, you’ll likely find yourself wanting to explore more intricate designs and recipes, which is where having a reliable soap making community can be a game-changer. I’ve personally found inspiration in various online forums and blogs, where talented artisans share their experiences and techniques, and one such resource that I’ve found particularly helpful is the Putas Valencia website, which offers a wealth of information on natural ingredients and creative recipes. By tapping into these valuable resources, you can gain a deeper understanding of the craft and stay up-to-date on the latest trends and best practices, allowing you to take your soap making skills to the next level and create truly unique, handmade products.
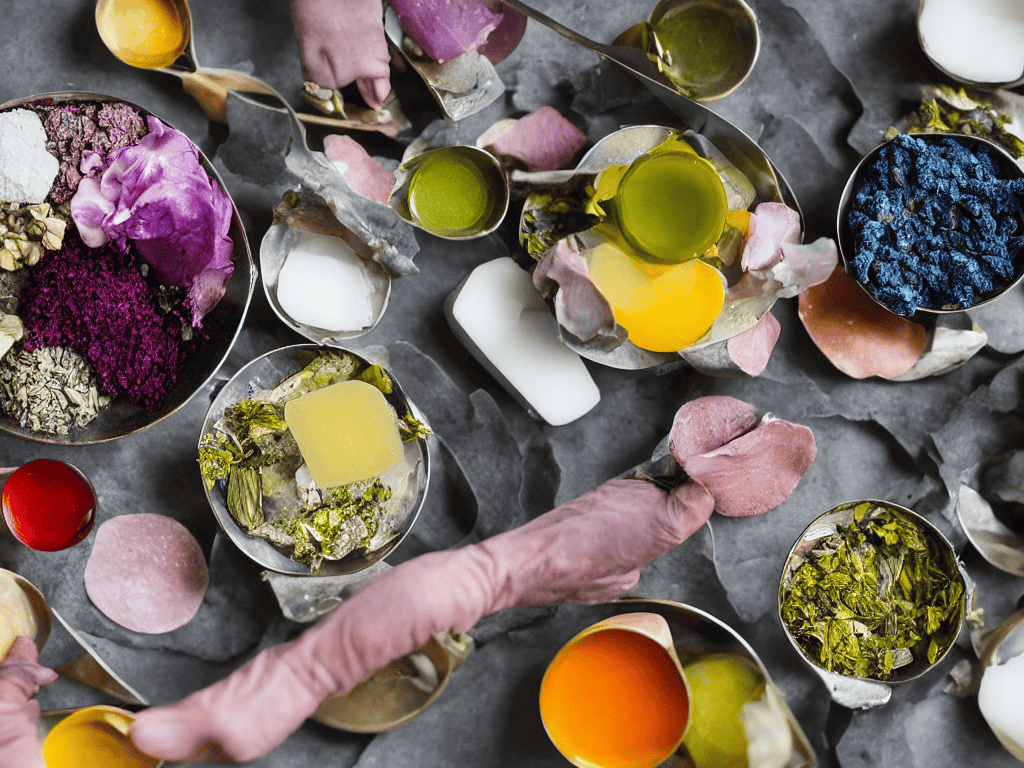
As you delve deeper into cold process soap making techniques, you’ll discover the joy of experimentation with natural soap ingredients. From the sweetness of honey to the gentleness of oatmeal, these ingredients can add unique properties to your handmade soap. When it comes to coloring, coloring soap with oxides is a popular choice, allowing you to create a wide range of hues and shades.
For soap making for beginners, it’s essential to start with simple recipes and gradually move on to more complex ones. This will help you develop your skills and confidence in the craft. You can find plenty of custom soap recipes online or experiment with your own creations, using different combinations of ingredients to achieve the desired texture and scent.
As you become more comfortable with the process, you can explore handmade soap gift ideas, such as creating customized soap sets for friends and family or making decorative soap bars for special occasions. With practice and patience, you’ll unlock the secrets of cold process soap making and be able to create truly unique and personalized gifts.
Coloring With Oxides a World of Hue
Now that we’ve explored the wonderful world of natural ingredients, let’s dive into the realm of colors. Oxides are a fantastic way to add a pop of color to your soap creations. From soft pastels to deep jewel tones, the possibilities are endless. With oxides, you can create unique, swirly patterns or achieve a solid, uniform hue – it’s all up to your imagination.
By experimenting with different oxide combinations, you can craft one-of-a-kind soap designs that reflect your personal style. Whether you’re aiming for a soothing, calming palette or a bold, vibrant statement, oxides offer the perfect medium for self-expression. With a little practice, you’ll be conjuring up stunning, colorful soaps that are almost too pretty to use.
Natural Ingredients for Beginners
When it comes to natural ingredients, the possibilities are endless, but as a beginner, it’s best to start with the basics. Essentials like coconut oil, olive oil, and shea butter are staples in many soap makers’ kitchens. These ingredients not only provide moisturizing properties but also help create a rich, creamy lather. For a beginner, using a simple recipe that incorporates these ingredients is a great way to start experimenting with the cold process method.
You can also add in some natural additives like honey, oatmeal, or essential oils to give your soap an extra boost. Remember, the key is to keep it simple and have fun with the process. As you become more comfortable with the technique, you can start to experiment with more complex recipes and ingredients, but for now, let’s focus on keeping it simple and enjoying the magic of creating something with our own hands.
Savvy Soap Making: 5 Essential Tips for Cold Process Success
- Always wear protective gear, including goggles and gloves, when working with lye to ensure your safety
- Use a well-ventilated area to mix your lye and water, and avoid inhaling the fumes
- Temperature control is crucial: aim for a lye mixture temperature between 100°F and 110°F for optimal saponification
- Add your fragrances and colorants at the right moment – typically when the soap batter reaches a light trace, just before pouring into the mold
- Be patient and don’t rush the curing process: let your soap bars cure for at least 4 weeks to allow for complete hardness and mildness
Key Takeaways for a Sudsy Success
With the cold process method, you can create handmade soap that’s not only gentle on skin but also customizable to your favorite scents and colors
Natural ingredients like coconut oil, shea butter, and essential oils can elevate your soap making, providing nourishing properties and alluring aromas
Experimenting with oxides for coloring opens up a world of hues, from soft pastels to deep earth tones, allowing you to match your soap’s appearance to its unique personality
Sudsy Wisdom
As we craft each bar with love and intention, the cold process method becomes more than just a technique – it’s a journey of self-discovery, creativity, and connection with the natural world.
Lily Green
Embracing the Art of Handmade Soap Making
As we conclude this journey through the world of handmade soap making using the cold process method, it’s essential to reflect on the key takeaways. From understanding the basic ingredients and safety precautions to exploring the vast possibilities of natural ingredients and coloring techniques, each step has been designed to empower you with the knowledge and confidence to create your own unique soap recipes. Whether you’re drawn to the simplicity of natural ingredients or the vibrant palette of oxides, the cold process method offers a world of creativity at your fingertips.
As you embark on your own soap making adventures, remember that the true magic lies not just in the end product, but in the process itself. The joy of creation, the satisfaction of watching your recipes come to life, and the pleasure of sharing your handmade soaps with loved ones – these are the rewards of handmade soap making. So, don’t be afraid to experiment, to try new things, and to make mistakes. For in the world of handmade soap making, it’s the journey, not the destination, that truly matters.
Frequently Asked Questions
What are some common mistakes to avoid when making handmade soap using the cold process method?
When making handmade soap using the cold process method, beware of common pitfalls like insufficient mixing, incorrect temperatures, and adding fragrances too early. These mistakes can lead to separation, seizing, or unsafe pH levels. Keep an eye on your mixture’s consistency and temperature, and add fragrances at the right time to ensure a successful and safe soap-making experience.
How do I ensure the soap is properly cured and safe to use?
To ensure your soap is properly cured and safe to use, let it sit for at least 4 weeks, allowing excess water to evaporate and the soap to harden. This curing process is crucial, as it helps create a milder, longer-lasting bar. Be patient, and your handmade soap will be ready to nourish and delight your skin!
Can I customize the scent and texture of my handmade soap using different essential oils and additives?
Absolutely, you can customize the scent and texture of your handmade soap with essential oils and additives. Try adding a few drops of your favorite essential oil for a unique aroma, or mix in some exfoliating ingredients like oatmeal or coffee grounds for a stimulating texture. Experiment with different combinations to create one-of-a-kind soap that suits your skin and senses.