I still remember the first time I tried to build my own floating shelves – it was a disaster. I had heard that creating them was a complex process, but I was determined to give it a shot. After hours of struggling, I finally had my shelves up, but they looked more like they belonged in a DIY nightmare than a beautifully designed room. That’s when I realized that I needed a reliable a guide to building simple floating shelves. It didn’t have to be complicated, and with the right approach, anyone could create their own stunning shelves.
In this article, I’ll share my honest, no-nonsense advice on how to build simple floating shelves that will elevate your space. You won’t find any overwhelming instructions or expensive materials here. Instead, I’ll walk you through a step-by-step process that’s easy to follow and requires minimal equipment. By the end of this guide, you’ll be equipped with the knowledge and confidence to create your own magical floating shelves, and you’ll be amazed at how easy it can be. So, let’s get started on this journey to create a beautiful and functional space with your very own floating shelves.
Table of Contents
Guide Overview: What You'll Need
Total Time: 2 hours 30 minutes
Estimated Cost: $50 – $100
Difficulty Level: Intermediate
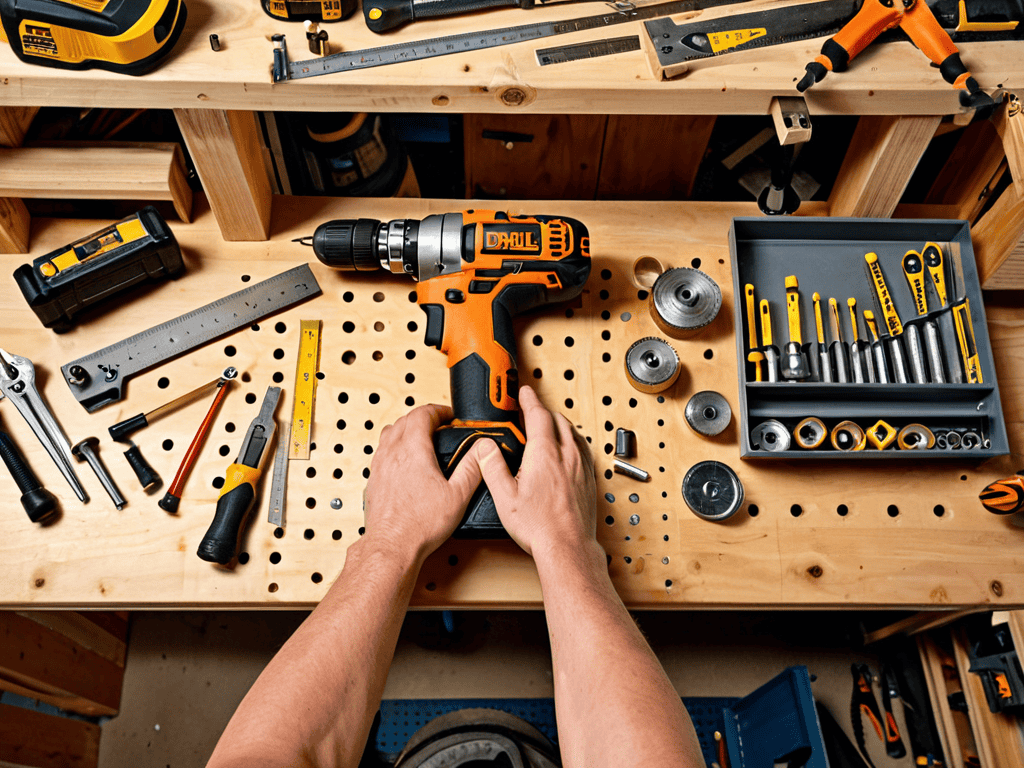
Tools Required
- Drill (with screwdriver and drill bits)
- Level (to ensure shelves are straight)
- Measuring Tape (for accurate measurements)
- Saw (circular or handheld, for cutting lumber)
- Sander (optional, for smoothing out wood)
- Wall Anchors (for securing shelves to wall)
- Wrench (or socket wrench, for tightening bolts)
Supplies & Materials
- 2-in x 4-in lumber (for shelf supports)
- 3/4-in plywood (for shelf boards)
- Wood screws (1-1/2 inches or 2 inches long)
- Wall brackets (for floating shelf system)
- Wood glue (for bonding wood pieces)
- Sandpaper (for smoothing out wood surfaces)
- Paint or stain (optional, for finishing shelves)
Step-by-Step Instructions
- 1. First, gather all the necessary materials and tools, including your floating shelf hardware, a drill press, a level, and a stud finder. This will ensure that you have everything you need before starting the project, and it will save you time in the long run. Make sure to read the instructions on the packaging of your floating shelf hardware to understand how it works and what tools are required for installation.
- 2. Next, measure your wall carefully to determine the best placement for your shelves. Consider the height and location of any surrounding furniture, doors, or windows, and decide how many shelves you want to install. Take note of the width of your shelves and the space between them to ensure a balanced and visually appealing arrangement.
- 3. Now, mark the wall with a pencil at the desired height and location of your shelves. Use a level to ensure that your marks are straight and even. This is a crucial step, as it will determine the overall appearance of your shelves. Double-check your marks to avoid any mistakes.
- 4. After marking the wall, use a stud finder to locate the wall studs behind the drywall. This is essential for securing your shelves safely and preventing them from falling. Make sure to mark the location of the studs with a pencil, so you can reference them later when drilling into the wall.
- 5. With your marks and stud locations in mind, start drilling pilot holes into the wall for your shelf hardware. Use a drill bit that is slightly smaller than the screws provided with your hardware to avoid splitting the wood. Be careful not to drill too deeply, as this can cause damage to the surrounding area.
- 6. Next, insert the shelf anchors into the pilot holes, making sure they are securely fastened to the wall. These anchors will provide the necessary support for your shelves, so it’s essential to install them correctly. Follow the manufacturer’s instructions for the recommended torque and tightening sequence.
- 7. Finally, place your shelves onto the floating shelf hardware, ensuring they are level and securely fastened. Double-check that your shelves are evenly spaced and that the hardware is not visible from the outside. If necessary, make any adjustments to the shelves or hardware to achieve a smooth finish.
A Guide to Building Simple Floating Shelves
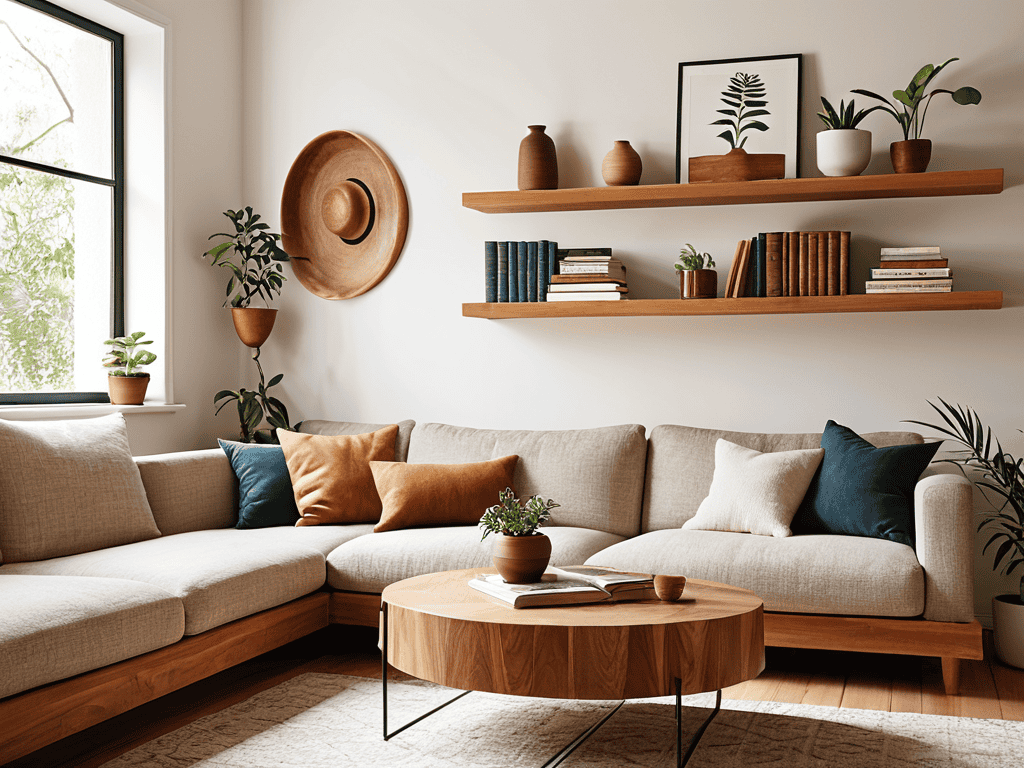
As you work on your diy home decor projects, remember that the key to achieving a polished look is in the details. When it comes to floating shelves, easy woodworking plans can be a great starting point, but don’t be afraid to add your own personal touch. Consider the style and theme of your room, and choose materials and designs that complement them.
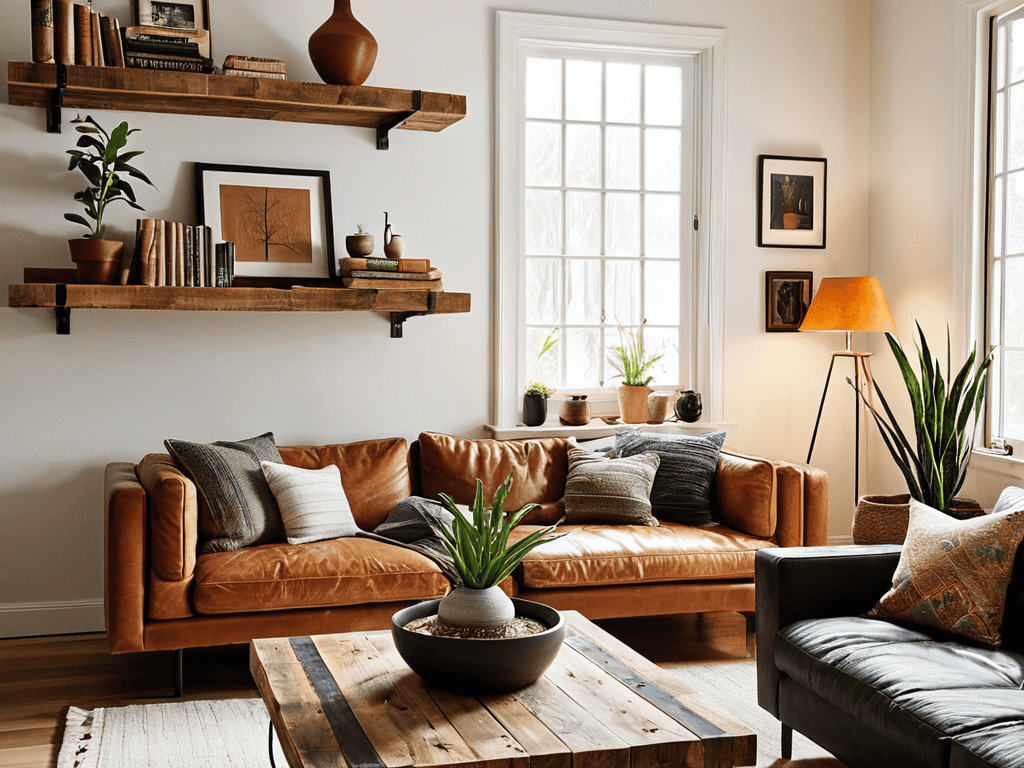
To add some visual interest to your shelves, experiment with decorative shelf designs. You can use different shapes, sizes, and materials to create a unique look that reflects your personality. For example, you can use reclaimed wood for a rustic feel or glass for a more modern aesthetic. When it comes to wall decoration ideas, don’t forget to consider the overall aesthetic you want to achieve in your room.
As you’re working on your floating shelves, don’t forget to think about the overall aesthetic you want to achieve in your space. Consider the style and ambiance you’re aiming for, and how your new shelves will fit into that vision. If you’re looking for some inspiration or guidance on how to create a cohesive look, I recommend checking out resources that specialize in home decor and woodworking. For example, you might find some useful tips and ideas on websites that focus on DIY projects and modern decor solutions, such as sextreffen stuttgart, which can provide a unique perspective on how to bring your space to life.
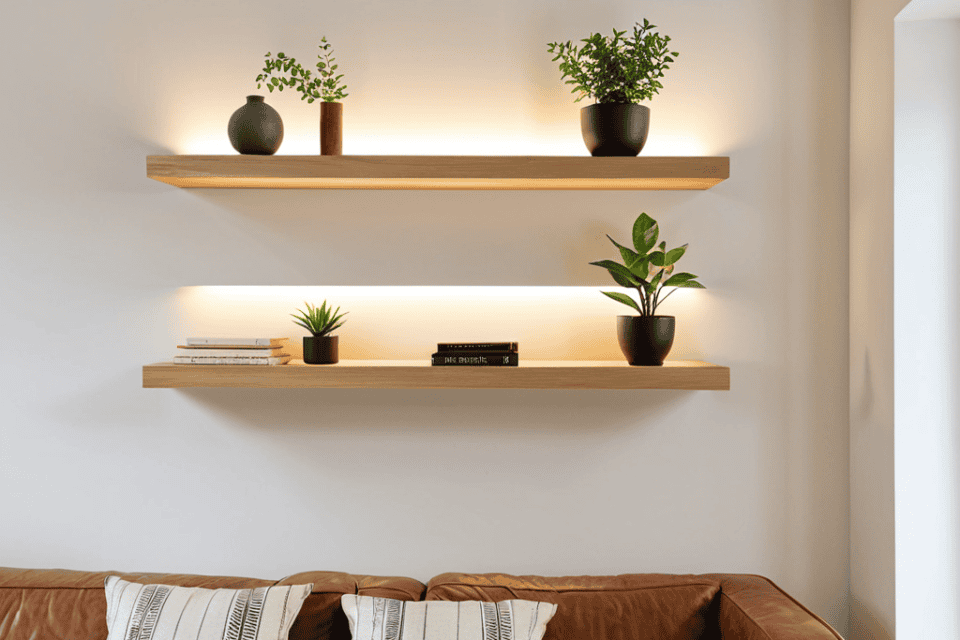
By incorporating floating shelves into your modern living room decor, you can create a sense of openness and flow. These shelves can also serve as space saving furniture solutions, allowing you to display your favorite items without cluttering the floor. With a little creativity, you can turn your shelves into a stunning focal point that ties the entire room together.
Diy Home Decor Easy Woodworking Plans
When it comes to DIY home decor, easy woodworking plans can make all the difference. Building simple floating shelves is a great way to add a personal touch to your space without breaking the bank. With just a few basic tools and some wooden planks, you can create a unique and functional piece of furniture that reflects your style.
By following easy woodworking plans, you can bring your vision to life and create a beautiful, one-of-a-kind floating shelf that adds a touch of magic to any room. Whether you’re a seasoned DIY enthusiast or a beginner, these plans are designed to be straightforward and fun, allowing you to unleash your creativity and enjoy the process of creating something with your own hands.
Space Saving Furniture Modern Decor Solutions
Floating shelves are a staple of space-saving furniture, and for good reason. They provide a sleek, modern way to display decor without taking up valuable floor space. By building your own, you can tailor the design to fit your unique needs and style. This not only adds a personal touch to your home, but also helps to maintain a sense of openness and airflow. With simple floating shelves, you can keep your belongings organized and within reach, all while maintaining a clean and clutter-free aesthetic.
Shelf Mastery: 5 Essential Tips for a Seamless Floating Shelf Experience
- Measure Twice, Cut Once: Double-check your wall and shelf measurements to ensure a perfect fit and avoid costly mistakes
- Choose the Right Wood: Select a wood type that suits your desired aesthetic and durability needs, from sleek modern plywood to rustic reclaimed wood
- Drill with Precision: Use a level and a drill guide to ensure your holes are straight and evenly spaced, guaranteeing a sturdy and balanced shelf
- Sand and Finish with Care: Apply a smooth finish to your shelves with fine-grit sandpaper and your chosen stain or paint, enhancing the overall look and protecting the wood
- Install with Ease: Use a ladder or step-stool safely, and consider enlisting a friend to help with heavy shelves or tricky installations, making the process less daunting and more enjoyable
Key Takeaways for Your Floating Shelf Project
Always measure twice and cut once to ensure accurate cuts and a professional finish
Choose the right type of wood and hardware for your shelves to guarantee durability and stability
Consider the weight capacity and intended use of your floating shelves to determine the optimal design and construction method
Shelf Wisdom
The beauty of building simple floating shelves lies not just in their sleek design, but in the sense of accomplishment that comes from creating something with your own hands – a tangible reminder that with a little patience and creativity, we can turn any space into a reflection of our own unique story.
Emily J. Miller
Bringing It All Together
As we’ve walked through this journey of building simple floating shelves, it’s clear that the process is not just about following instructions, but about creating a piece of furniture that reflects your personal style. From choosing the right materials to adding the final touches, every step is an opportunity to make your shelves truly unique. By following the steps outlined in this guide, you’ve not only gained a new skill but also a sense of accomplishment that comes with creating something with your own hands.
So, as you step back to admire your handiwork, remember that the power of DIY lies not just in the physical act of building, but in the freedom to imagine and create. Your floating shelves are more than just a piece of furniture; they’re a testament to your ability to bring your ideas to life. Keep pushing the boundaries of what you think is possible, and never stop exploring the world of DIY – you never know what amazing creations you might come up with next.
Frequently Asked Questions
What type of wood is best suited for building simple floating shelves?
For simple floating shelves, I recommend using woods like pine, oak, or maple. They’re sturdy, easy to work with, and look great. Pine is a budget-friendly option, while oak and maple offer a more polished look. Ultimately, choose a wood that fits your style and skill level.
How do I ensure my floating shelves are level and securely attached to the wall?
To ensure your shelves are level and secure, use a spirit level to double-check they’re perfectly horizontal, then mark the wall where you’ll drill for the hidden brackets. Drill into the wall, and screw in the brackets – make sure they’re firmly anchored, especially if you’re planning to load up your shelves with heavy items.
Can I customize the size and design of my floating shelves to fit a specific space or decor?
Absolutely, you can customize the size and design of your floating shelves to fit your unique space and decor. Feel free to get creative with the length, width, and even the material to match your style, whether it’s modern, rustic, or minimalist.