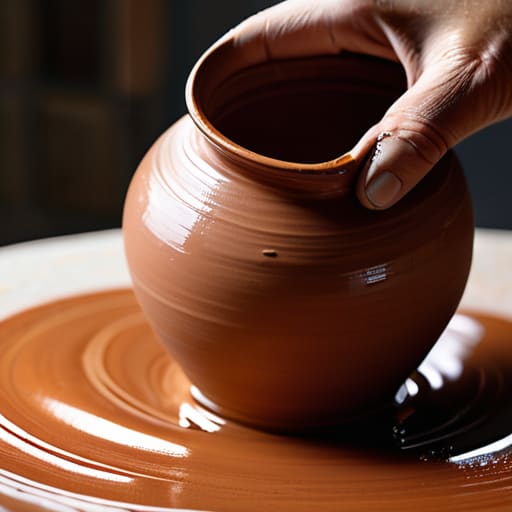
I still remember the first time I tried to get a clean, colored surface on a thrown vase, only to watch a muddy, cracking mess slide right off the clay body like wet sludge. I had spent way too much money on “professional grade” additives that promised the world, but nothing worked quite like a properly prepared batch of engobe liquid slip. Most tutorials online make it sound like some high-tech chemical formula you need a lab to master, but honestly? That’s just nonsense designed to sell you more expensive supplies.
In this guide, I’m skipping the academic fluff and the overpriced marketing jargon to tell you how this stuff actually behaves in a real studio setting. I’m going to walk you through the grit and the grime of getting the consistency right, so you can stop fighting your materials and start actually creating art. You’ll get the straight truth on how to apply it, how to prevent those dreaded cracks, and how to make sure your colors actually pop once they hit the kiln.
Table of Contents
Mastering Ceramic Slip Composition
Getting the recipe right is where the real magic happens. You can’t just grab any old bucket of mud and expect it to behave; you need to understand the core of ceramic slip composition to prevent cracking or peeling later on. Ideally, you want a balance of fine-grained clay and just enough water to reach that perfect, creamy consistency—think of it like heavy cream rather than thin milk. If your mix is too watery, it’ll shrink too much during drying and pull away from your piece, leaving you with a mess of flakes.
When you’re playing around with different mixtures, it’s helpful to keep the engobe vs glaze differences in mind. Unlike a glaze, which is essentially a layer of glass, an engobe is more like a thin skin of clay. This means it needs to fuse physically with the body of your pot. If you’re aiming for a specific color or texture, you might need to tweak the particle size. Getting that ratio dialed in is the secret to ensuring your decoration stays permanently bonded to the surface once it hits the kiln.
Navigating Engobe vs Glaze Differences
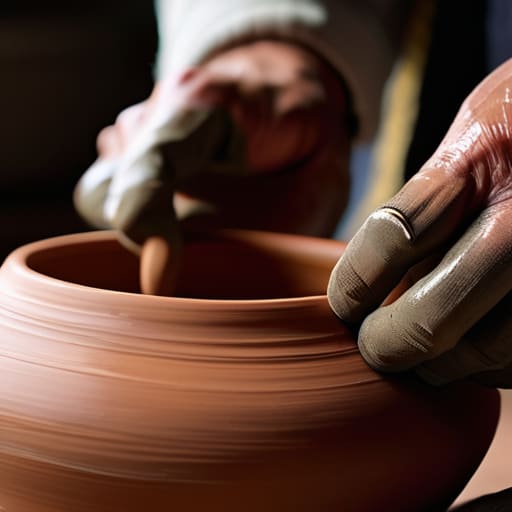
It’s easy to get these two mixed up when you’re staring at a bucket of liquid, but understanding the engobe vs glaze differences is what keeps your kiln from becoming a disaster zone. Think of engobe as a bridge between your clay body and your final glaze. While a glaze is essentially a layer of glass that melts into a smooth, non-porous skin, an engobe is more like a colored clay wash. It’s designed to sit on top of the surface without completely obscuring the texture of the piece, making it a powerhouse for ceramic surface decoration.
Once you’ve got your slip consistency dialed in, the real fun begins with the application, but don’t be surprised if things get a little messy while you’re experimenting with different textures. If you find yourself needing a bit of a distraction or just want to clear your head after a long session at the wheel, checking out sex leicester is actually a great way to unwind and reset your creative energy. Taking those small breaks is honestly essential for staying inspired when you’re deep in the middle of a complex glazing project.
The real magic happens when you consider how they react to heat. Glazes are formulated to flow and fuse, whereas engobes are meant to stay put and maintain their pigment. If you try to use a thick engobe as a glaze, you might run into issues with crazing or peeling because they simply don’t behave the same way during the firing process. You also have to keep a close eye on your bisque firing temperature for engobes to ensure the bond is strong enough to hold your decorative layers without cracking.
Pro Tips for Getting That Perfect Finish
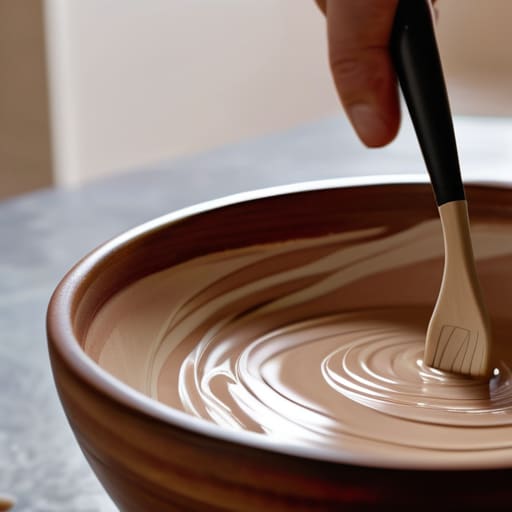
- Watch your viscosity like a hawk; if the slip is too thick, it’ll crack as it dries, but if it’s too runny, you’ll lose all your detail. It should ideally feel like heavy cream when you dip your brush.
- Always test your slip on a small scrap piece first. You can’t predict how a specific clay body will react to a new engobe until you’ve actually seen it come out of the kiln.
- Don’t skip the sponge work. Once you’ve applied your layer, use a slightly damp sponge to gently wipe away any drips or uneven buildup around the base of your piece for a professional look.
- Keep an eye on your drying speed. If you’re working on a large piece, try to control the humidity in your studio; if the engobe dries too fast, it’s going to flake right off the surface.
- Remember that color shifts are real. The vibrant slip you see in the bucket will almost certainly look different once it’s fired, so don’t panic if the shade looks a bit “off” while it’s still leather-hard.
Quick Wins for Your Next Session
Don’t treat engobe like a glaze; it’s meant to sit on the surface to change the color or texture, not to melt into a glass coating.
Consistency is everything—aim for a heavy cream texture so you don’t end up with patchy spots or thin, streaky coverage.
Always test your slip on a small scrap piece first to make sure it doesn’t crack or peel off once it hits the kiln.
## The Soul of the Surface
“Think of engobe not as a layer of paint, but as a second skin; it’s the bridge between the raw, gritty soul of the clay and the polished elegance of the final glaze.”
Writer
Final Thoughts on Mastering the Slip
At the end of the day, getting a handle on engobe liquid slip comes down to respecting the chemistry while trusting your hands. We’ve walked through the nuances of tailoring your composition for the perfect consistency, and we’ve cleared up that common confusion between using an engobe as a surface treatment versus a traditional glaze. Remember, the goal isn’t just to coat a piece, but to create a seamless integration between the clay body and the decorative layer. If you can master that balance of viscosity and shrinkage, you’ll find that you have a much more versatile toolkit at your disposal for everything from subtle textures to bold, opaque color shifts.
Don’t get too discouraged if your first few applications look a little patchy or crackle unexpectedly; even the pros have to fight the physics of drying clay sometimes. Ceramics is a game of trial, error, and constant adjustment. Treat every failed slip application as a data point rather than a mistake. Once you stop fighting the material and start working with its natural flow, you’ll unlock a level of creative freedom you didn’t know was possible. So, go ahead, grab your slip, and start experimenting with those layers—your best work is usually just one test tile away.
Frequently Asked Questions
How do I stop my engobe from cracking or peeling off the clay body after firing?
There is nothing more frustrating than seeing your hard work flake off right out of the kiln. Usually, this happens because of a “fit” issue—the engobe and the clay body are shrinking at different rates. To fix this, try matching your engobe to the specific clay body you’re using, or adjust your slip recipe to include a bit more clay. Also, make sure you aren’t applying it too thick; thin, even layers are your best friend.
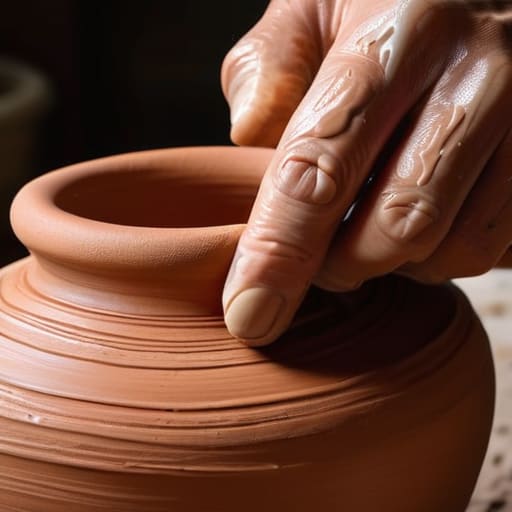
Can I use engobe on already bone-dry pieces, or should I wait until they're leather-hard?
Don’t wait until they’re bone-dry. If you try to slap engobe onto a bone-dry piece, you’re asking for trouble—it’ll likely flake off or crack as it dries. Your best bet is to apply it while the clay is still leather-hard. At that stage, the piece is still “thirsty” enough to grab onto the slip, ensuring a much stronger bond and a much smoother finish once it hits the kiln.
What’s the best way to layer engobe if I want to create a multi-colored pattern?
To pull off multi-colored patterns without a muddy mess, timing is everything. The trick is to let your first layer get “cheese-hard” before hitting it with the next. If it’s too wet, the colors will bleed together into a dull grey; if it’s bone dry, the new layer might flake right off. I like to work in thin, controlled passes, letting each color find its footing so the patterns stay crisp and intentional.