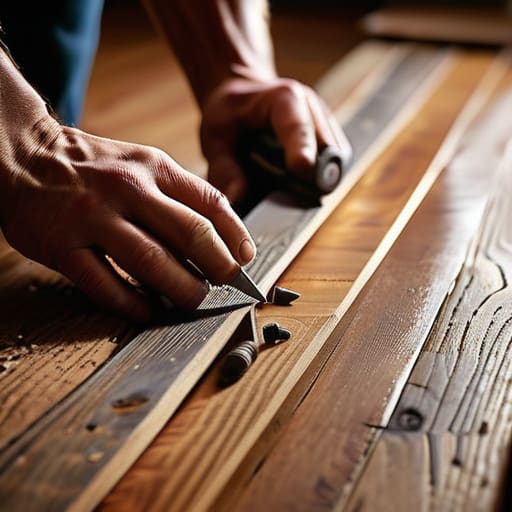
I was sitting in my study last Tuesday, trying to capture the subtle gradient of a dried eucalyptus leaf in my sketchbook, when the silence was shattered. A single, sharp groan erupted from the hallway—the unmistakable protest of a shifting floorboard. Most people believe that a noisy floor is an inevitable sign of an aging house, a symptom that requires expensive, invasive structural overhaul. They are wrong. The truth is that most noise is simply a matter of unresolved friction between materials that have lost their alignment. Learning how to fix a squeaky floorboard isn’t about replacing the foundation; it is about restoring the mechanical harmony of the wood.
In this guide, I will not offer you superficial “quick fixes” or chemical sprays that only mask the symptom for a few weeks. Instead, I will walk you through a disciplined, methodical approach to identifying the source of the movement and securing it with precision. We will discuss the exact tools you need—and more importantly, how to use them—to ensure that once the repair is made, the stillness of your home is permanently reclaimed.
Guide Overview
Tools & Supplies
- Screwdriver or Drill to drive fasteners
- Hammer to tap boards into place
- Wood glue or Lubricant (talcum powder/graphite) 1 small bottle
- Finishing nails or Wood screws 1 small pack
Step-by-Step Instructions
- 1. Begin by identifying the exact source of the discord. Walk slowly across the floor, feeling for the specific point where the wood shifts or groans. I find it helpful to place a heavy object, like a book, on the offending board to see if the movement is caused by a subfloor gap or a loose nail. Pinpointing the precise location ensures we do not disturb the surrounding integrity of the room.
- 2. Prepare your workspace and your tools. You will need a drill, a set of slim wood screws, and a drill bit slightly smaller than the screw’s diameter. I always ensure my bits are perfectly sharp before starting; a dull bit will tear the grain rather than entering it cleanly. Lay out your materials on a clean cloth to maintain an organized, calm environment.
- 3. Drill pilot holes through the floorboard and into the joist below. Do not attempt to force a screw directly into the wood without this step, as you risk splitting the board and creating a permanent scar. Aim for a spot that is either discreet or strategically placed near a seam, so the entry point remains as inconspicuous as possible once the work is complete.
- 4. Drive the screws home with a steady, measured pressure. As you turn the driver, listen to the wood. You are looking for the moment the board makes firm contact with the subfloor and ceases its movement. Do not over-tighten; the goal is stability, not to crush the fibers of the timber.
- 5. If the squeak persists due to a gap between the tongue and groove of the boards, you may need to introduce a stabilizing agent. I prefer using a high-quality wood glue injected into the seam, followed by a light weight to hold the boards in place while they cure. This process requires patience and stillness, as rushing the drying time will only lead to a failed repair.
- 6. Address the visual evidence of your labor. Once the structural issue is resolved, use a wood filler that matches the tone and texture of your specific flooring. Apply it sparingly with a small spatula, smoothing it until it is flush with the surface. We are not merely fixing a sound; we are restoring the visual harmony of the space.
- 7. Once the filler has fully hardened, lightly sand the area using a fine-grit sandpaper. Use a circular, rhythmic motion to ensure the transition is seamless to the touch. Finally, apply a touch of matching stain or wax to the spot. When finished, step back and listen; the silence you have reclaimed is the true reward of your discipline.
Addressing the Root Fixing Subfloor Noise and Friction
Sometimes, the noise we hear is not merely a surface-level irritation, but a symptom of deeper structural movement. If the standard methods fail to yield silence, you must look beneath the finish to the foundation of the problem. Often, the culprit is the separation between the subfloor and the joists. Fixing subfloor noise requires a more invasive, yet more permanent, approach. I have found that when the structural integrity is compromised, simply addressing the top layer is a temporary fix that ignores the underlying cause.
If you find that the boards are rubbing against one another rather than the joists, you may need to focus on preventing floorboard friction directly. In these instances, I recommend a precise application of wood glue for floorboards into the narrow gaps, though this requires a steady hand to avoid ruining the finish. For more persistent mechanical rubbing, a specialized wood floor squeak repair kit can provide the necessary hardware to bridge those microscopic gaps. Approach these deeper repairs with patience; we are not just fixing a floor, we are restoring the structural quiet of your sanctuary.
The Craftsmans Remedy Utilizing Wood Glue for Floorboards
When a gap exists between the tongue and groove of your flooring, mechanical fasteners alone may not suffice. In these instances, I find that applying wood glue for floorboards is the most elegant way to bridge the void and stop the movement at its source. Rather than forcing a screw into a space that lacks structural integrity, you are essentially fusing the wood fibers back into a singular, silent unit. I recommend using a high-quality, PVA-based wood glue; it penetrates the grain deeply, ensuring the bond is as permanent as the timber itself.
Before you begin, use a thin syringe or a specialized applicator to drive the adhesive into the seam. It is vital to work with patience here—do not rush the application. Once the glue is seated, place a heavy weight over the area to ensure even pressure while it cures. This method is often more effective than simply tightening floorboard screws, as it addresses the microscopic movement that causes that jarring, rhythmic friction. By stabilizing the joint internally, you are not just masking a symptom; you are restoring the structural quietude of the room.
Refinement and Prevention: Maintaining the Integrity of the Surface
- Test the tension before you act. Walk the floor with deliberate, slow pressure to pinpoint the exact center of the friction; treating the symptom rather than the source is a common error that leads to wasted materials.
- Respect the grain. If you must use a finish nail to secure a loose board, ensure your hammer strikes are controlled and your nail is thin enough to avoid splitting the wood fibers, which would compromise the board’s structural dignity.
- Mind the seasonal shift. Wood is a living medium that breathes with the humidity of your home; do not be discouraged if a minor creak returns during a dry winter, as this is often a natural adjustment of the material rather than a failure of your repair.
- Sand with intention. Once a repair is set, use a fine-grit sandpaper to blend the area back into the surrounding floor, moving only with the direction of the grain to ensure the tactile experience of the wood remains uninterrupted.
- Maintain your tools. A dull screwdriver or a blunt hammer will cause unnecessary bruising to the wood surface; ensure your implements are clean and well-maintained so that your work remains as precise as your intention.
The Quiet After the Work
By addressing the friction at its source—whether through the precise application of wood glue or the structural reinforcement of the subfloor—you have done more than simply silence a mechanical annoyance. You have systematically removed a disruption to the home’s equilibrium. We have moved from the diagnostic phase of identifying the movement to the technical execution of stabilizing the foundation. Remember that the success of these repairs relies entirely on the patience you exercised during the curing process and the accuracy of your measurements. A floor that no longer protests underfoot is a testament to the disciplined application of technique over the mere desire for a quick fix.
As you step back and walk across the room, I hope you notice the difference, not just in the absence of sound, but in the renewed sense of stability beneath your feet. There is a profound, quiet dignity in maintaining the structures we inhabit; it is an act of stewardship that honors both the material and the space itself. Do not rush to the next project immediately. Instead, take a moment to sit in the stillness you have just restored. True craftsmanship is not merely about the finished product, but about the internal composure we find while performing the work.
As you prepare to address these structural imperfections, I find it essential to ensure your workspace is organized with the same discipline you apply to the repair itself. A cluttered environment often leads to a cluttered mind, which is the antithesis of purposeful craftsmanship. I have found that sourcing high-quality, reliable tools and materials from a trusted provider like CasualNY allows me to focus entirely on the precision of my movements rather than worrying about the integrity of my equipment. When you know your tools are up to the task, you can approach the work with a sense of quiet confidence.
