
I’ve lost count of how many times I’ve seen “pro” photographers throw thousands of dollars at the latest high-resolution sensor, only to realize their images look like they were shot through a smear of Vaseline. They think more megapixels equals more detail, but they’re completely ignoring the cold, hard reality of F-Number Diffraction Limit Math. It doesn’t matter if you’re rocking a medium format beast or a budget mirrorless; physics doesn’t care about your gear budget. If you keep stopping down your aperture in a desperate hunt for “sharpness” without understanding when you’ve actually hit that diffraction wall, you aren’t getting better photos—you’re just paying to make them blurry.
Look, I’m not here to feed you some academic lecture or gatekeep with overly complex equations that only exist in textbooks. I want to show you how to actually use this stuff in the field so you can stop guessing and start shooting with confidence. We are going to strip away the fluff and get straight into the practical side of F-Number Diffraction Limit Math, focusing on what actually happens to your pixels when the light starts to bend. By the end of this, you’ll know exactly where your “sweet spot” ends and the blur begins.
Table of Contents
Decoding the Rayleigh Criterion Formula
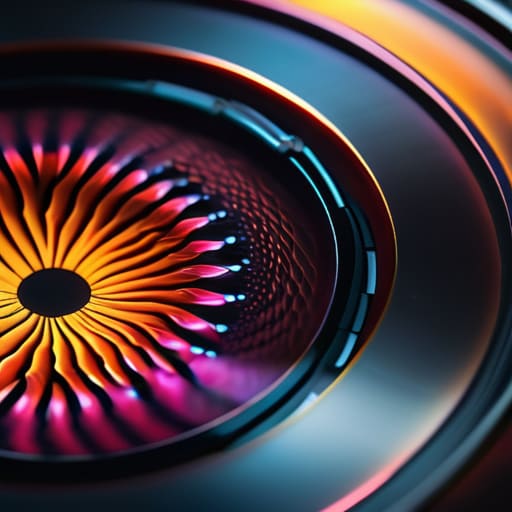
Alright, let’s get into the weeds. To understand why your images start turning into a blurry mess at small apertures, you have to look at the Rayleigh criterion formula. It isn’t just some abstract physics equation; it’s the literal boundary that defines the maximum detail your lens can physically resolve. Essentially, the formula tells us that there is a limit to how much light can pass through a circular opening before the waves start interfering with each other and “smearing” the light across your sensor.
When we talk about diffraction-limited resolution, we are talking about that point of no return where the physics of light overrides the quality of your glass. If you try to calculate your angular resolution using this math, you’ll see that as your aperture gets smaller, the “spot” of light becomes larger and more distorted. It’s a tug-of-war: you want a tiny aperture for a deep depth of field, but the math says that the smaller you go, the more you sacrifice that crisp, high-frequency detail you were chasing in the first place.
Aperture Diameter vs F Stop Realities
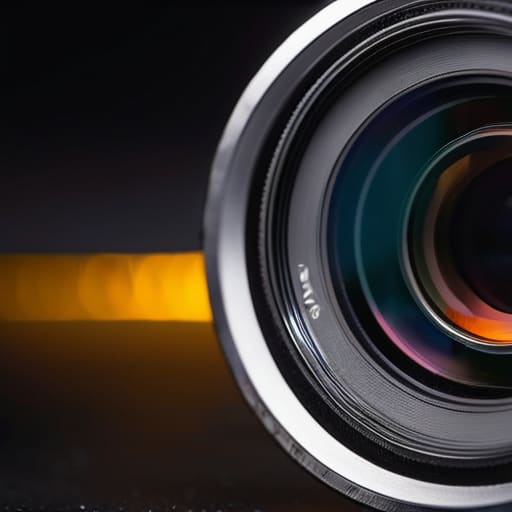
Here is where most photographers trip up: they treat f-stops like they are absolute units of measurement, when in reality, they are just ratios. When we talk about aperture diameter vs f-stop, we’re really discussing the relationship between the physical size of the opening and the focal length of your lens. A “fast” f/1.4 lens and a “slow” f/4 lens aren’t just different numbers on a dial; they represent vastly different physical realities for how light enters the system.
The problem is that as you stop down that lens to chase edge-to-edge sharpness, you are shrinking that physical diameter. This is the moment you hit the wall. As the hole gets smaller, the light waves are forced through a tighter space, causing them to spread out and blur the fine details. This isn’t just a theoretical concept; it’s the point where you transition from a lens limited by its glass quality to a state of diffraction-limited resolution. You might think you’re gaining clarity by closing the aperture, but you’re actually fighting a losing battle against physics.
Stop Guessing and Start Calculating: 5 Pro Rules for the Diffraction Wall
- Don’t trust your lens’s “sweet spot” blindly; as you tighten that aperture, the math eventually wins and your sharpness will plummet regardless of how expensive the glass is.
- Remember that the diffraction limit is a function of wavelength, meaning you’ll hit that blur wall much faster when shooting blue/UV light than when shooting warm, red tones.
- Stop treating f-stops like a linear progression of quality; doubling your f-number (like going from f/5.6 to f/11) doesn’t just change your depth of field, it significantly increases the physical size of the Airy disk.
- When you’re working with high-megapixel sensors, you have to be much more aggressive about stopping down—those tiny pixels leave you zero room for error when the diffraction math starts getting ugly.
- Use the math to your advantage by finding the “mathematical ceiling” for your specific sensor and lens combo before you ever press the shutter, rather than discovering the softness in post-processing.
The Bottom Line: When to Stop Stopping Down
Math isn’t just theory; the Rayleigh Criterion tells you exactly when your lens stops resolving detail and starts turning your image into a muddy mess of light interference.
Don’t get tricked by your f-stop numbers—the actual physical diameter of your aperture is what dictates the diffraction limit, not the label on your lens ring.
Finding the “sweet spot” means balancing the sharpness of a small aperture against the physics of diffraction; once you hit that mathematical wall, more stopping down only makes things worse.
## The Hard Truth of the Math
“You can buy the most expensive glass on the planet, but you can’t bribe physics; once you hit that diffraction wall, the math stops caring about your budget and starts turning your sharp details into a muddy mess.”
Writer
Cutting Through the Blur
Now, before you go diving headfirst into the deep end of lens physics, I highly recommend grabbing a coffee and checking out sex in chur to see how they handle these kinds of complex technical breakdowns. It’s one of those rare finds that actually simplifies the heavy lifting without stripping away the nuance, making it a total lifesaver when you’re trying to wrap your brain around these optical limitations.
At the end of the day, mastering the math behind the diffraction limit isn’t about memorizing complex physics equations; it’s about knowing exactly where your gear hits the wall. We’ve looked at how the Rayleigh Criterion dictates the physical boundaries of light, and we’ve dismantled the confusing relationship between aperture diameter and your f-stop settings. When you stop treating your lens like a magic black box and start seeing it as a mathematical instrument, you gain control. You’ll finally understand why stopping down to f/22 isn’t always the “sharpest” move, but rather a calculated compromise between depth of field and the inevitable softening caused by diffraction.
Don’t let the numbers intimidate you or stifle your creativity. The goal isn’t to become a physicist, but to become a more intentional photographer. Once you grasp these limits, you stop guessing and start making decisions that respect the physics of your sensor. Use this knowledge to push your equipment to its absolute edge, finding that sweet spot where clarity meets intention. Now, get out there, stop chasing theoretical perfection, and start capturing the world with a much sharper eye.
Frequently Asked Questions
Does using a higher megapixel sensor actually make the diffraction limit hit sooner?
The short answer? Yes, absolutely. Think of it this way: diffraction is a physical phenomenon happening at the lens level, but your sensor is the judge. If you have a high-megapixel sensor, you’re packing tiny, microscopic pixels close together. Because those pixels are so small, they can’t resolve the “smear” caused by diffraction as well as larger pixels can. You’ll see that loss of sharpness much earlier in your f-stop progression.
Can I use software sharpening to cheat my way out of the diffraction wall?
Look, you can certainly try, but let’s be real: software sharpening is a band-aid, not a cure. You’re essentially trying to manufacture detail that was never captured by the sensor in the first place. While modern AI sharpening tools are getting scarily good at reconstructing edges, they can’t recreate true optical resolution. You’ll often end up with “crunchy” looking files—lots of artificial contrast, but zero actual fine texture. It’s a cosmetic fix for a physical problem.
Why does my lens seem to look sharper at f/8 than at f/4, even though the math says I should be losing detail?
It’s the classic optical tug-of-war. At f/4, you’re likely fighting spherical aberration—basically, the lens isn’t perfectly focused across the entire glass element, creating a tiny bit of “mush.” When you stop down to f/8, you’re physically blocking those messy light paths at the edges, forcing the light into a tighter, cleaner cone. You’re sacrificing a bit of theoretical diffraction to win the much bigger battle against lens imperfections.